Setting up Intune Autopilot Deployment
Windows enterprise edition is pretty much the default for all corporate machines running Windows, and there are reasons to it. The enterprise edition allows the company to have a greater control of the device which it was installed on. Thus improving the security of the corporate network and resources.
For every device that is being issued by the company, it needs to be pre-configured before issuing to the employee. Most of the time it is not ideal to configure each and every device manually. It is just not scalable. Therefore, in most corporate setup, there is active directory which is used to set group policy on the machine.
Today, we will talk about how we can make the company issued device to be pre-configured using Microsoft Intune. Intune is basically the newest tool from Microsoft for endpoint management. It allows you to set group policies on the cloud which gets propagated to all the devices that have been enrolled.
In the following guide, we assume that you have an active Azure AD P1/P2 subscription as well as the Intune subscription. If you have Microsoft 365 Business Premium or the Microsoft 365 Enterprise E3/E5 subscriptions, they are pretty much included.
On first boot, select the wireless network (or if you are on a wired network, skip this step).
Once the network selection is done don’t proceed on the OOBE screen. Hit Shift+F10 to open the command prompt.
Open your powershell from the command prompt
PowerShell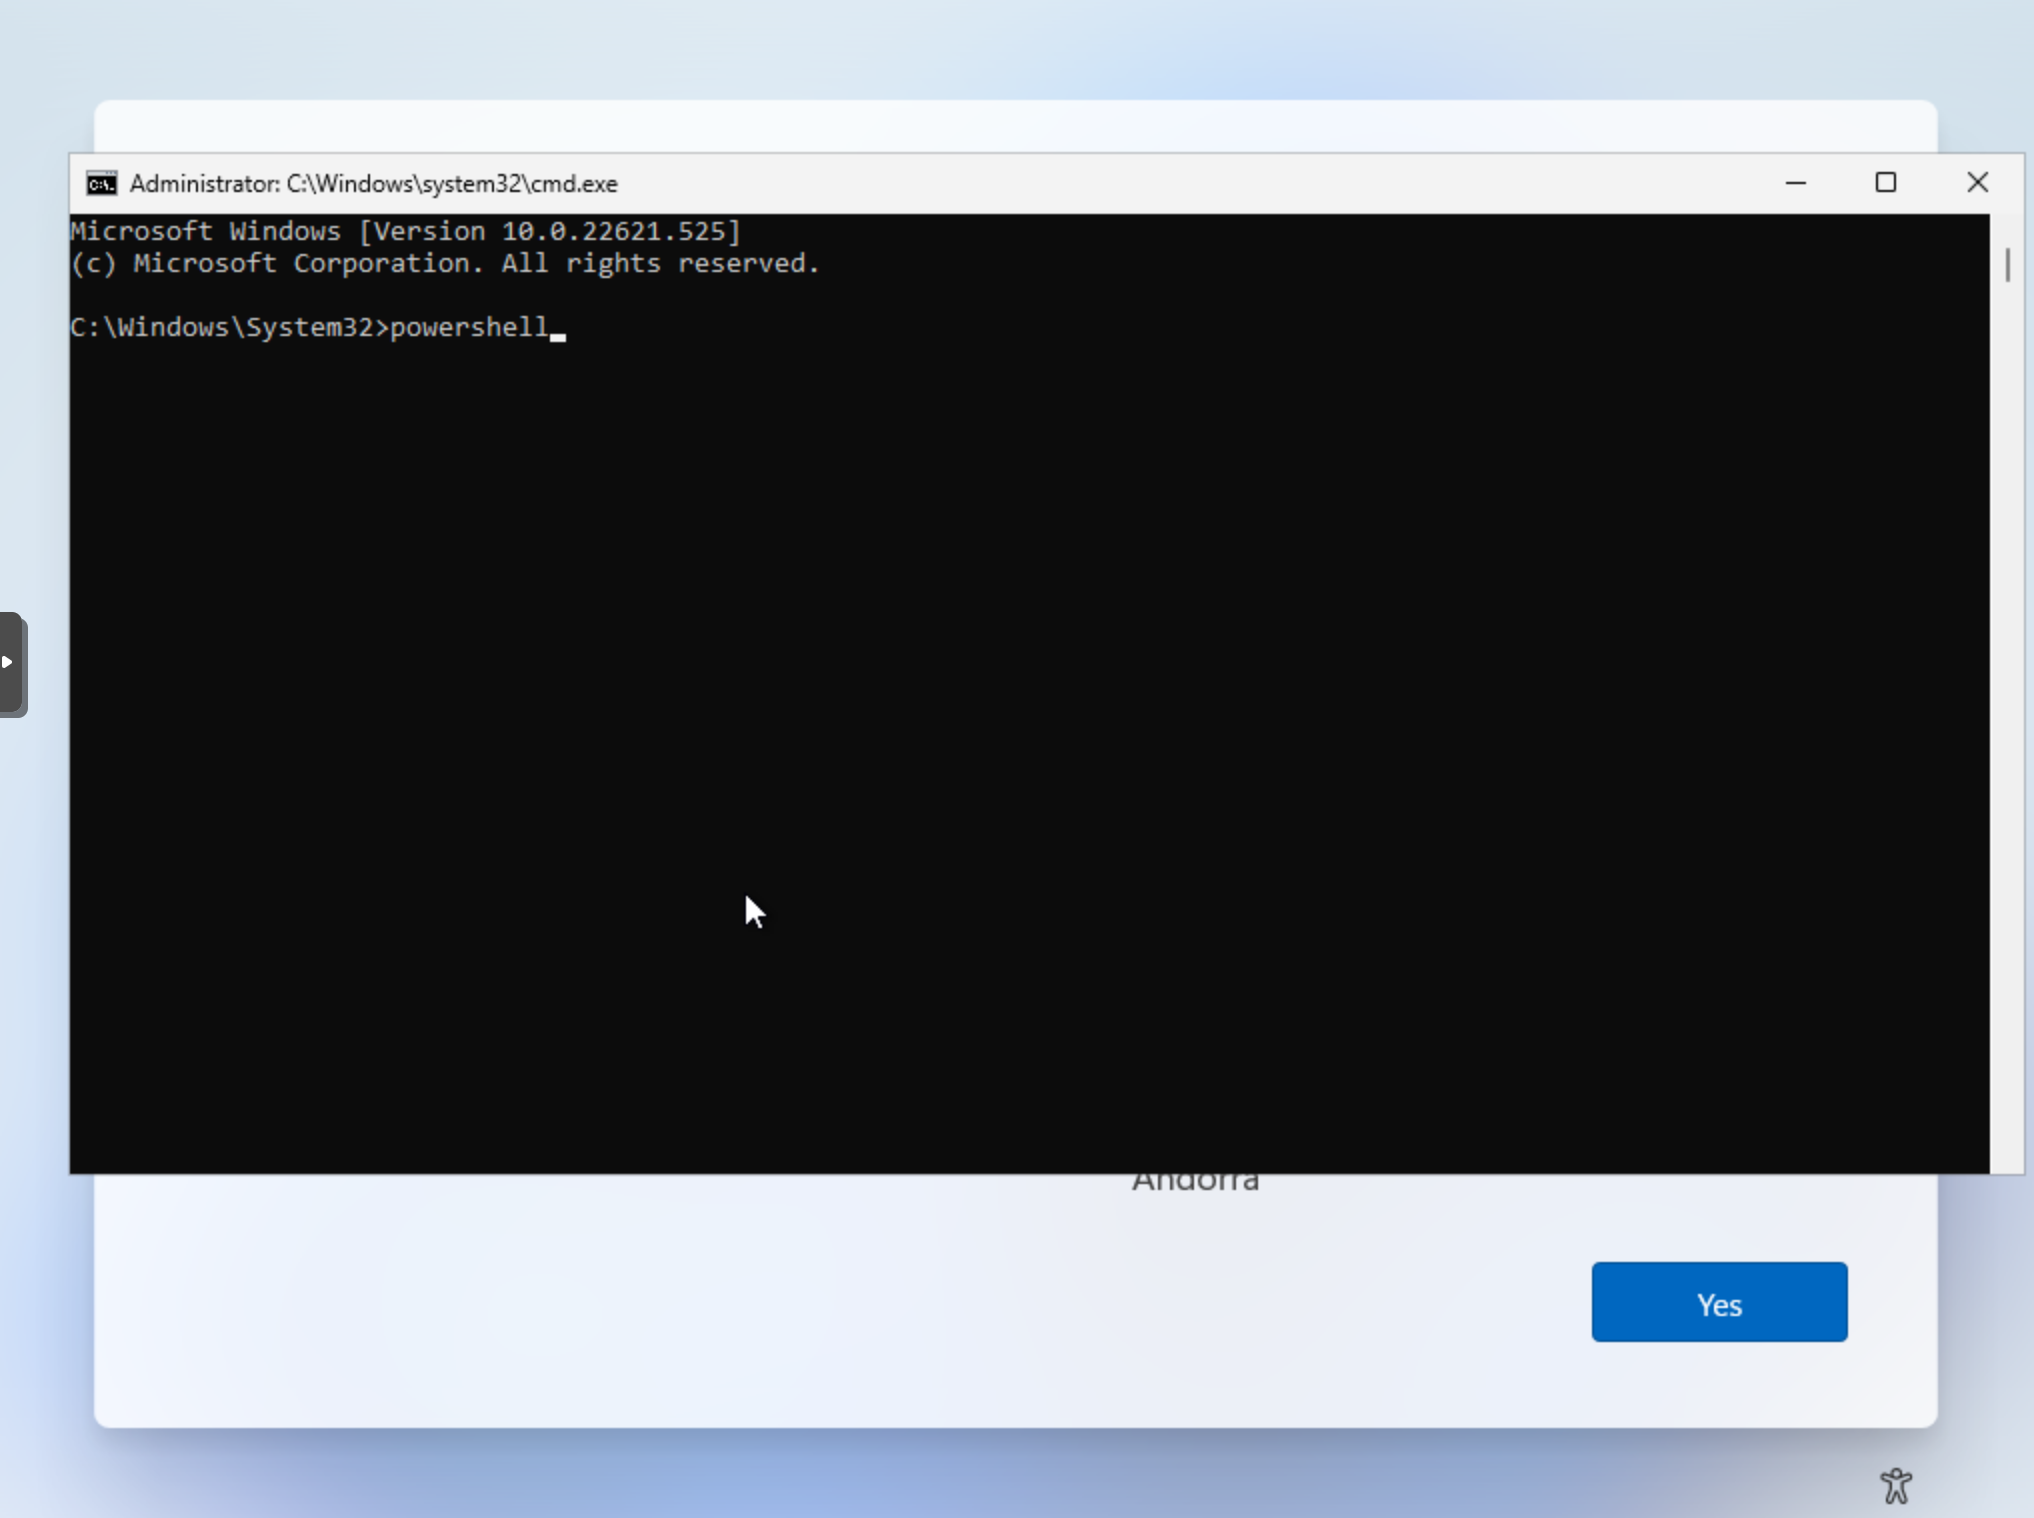
And run the following commands
Install-Script Get-WindowsAutoPilotInfo
Set-ExecutionPolicy -Scope Process -ExecutionPolicy RemoteSigned
Get-WindowsAutoPilotInfo -online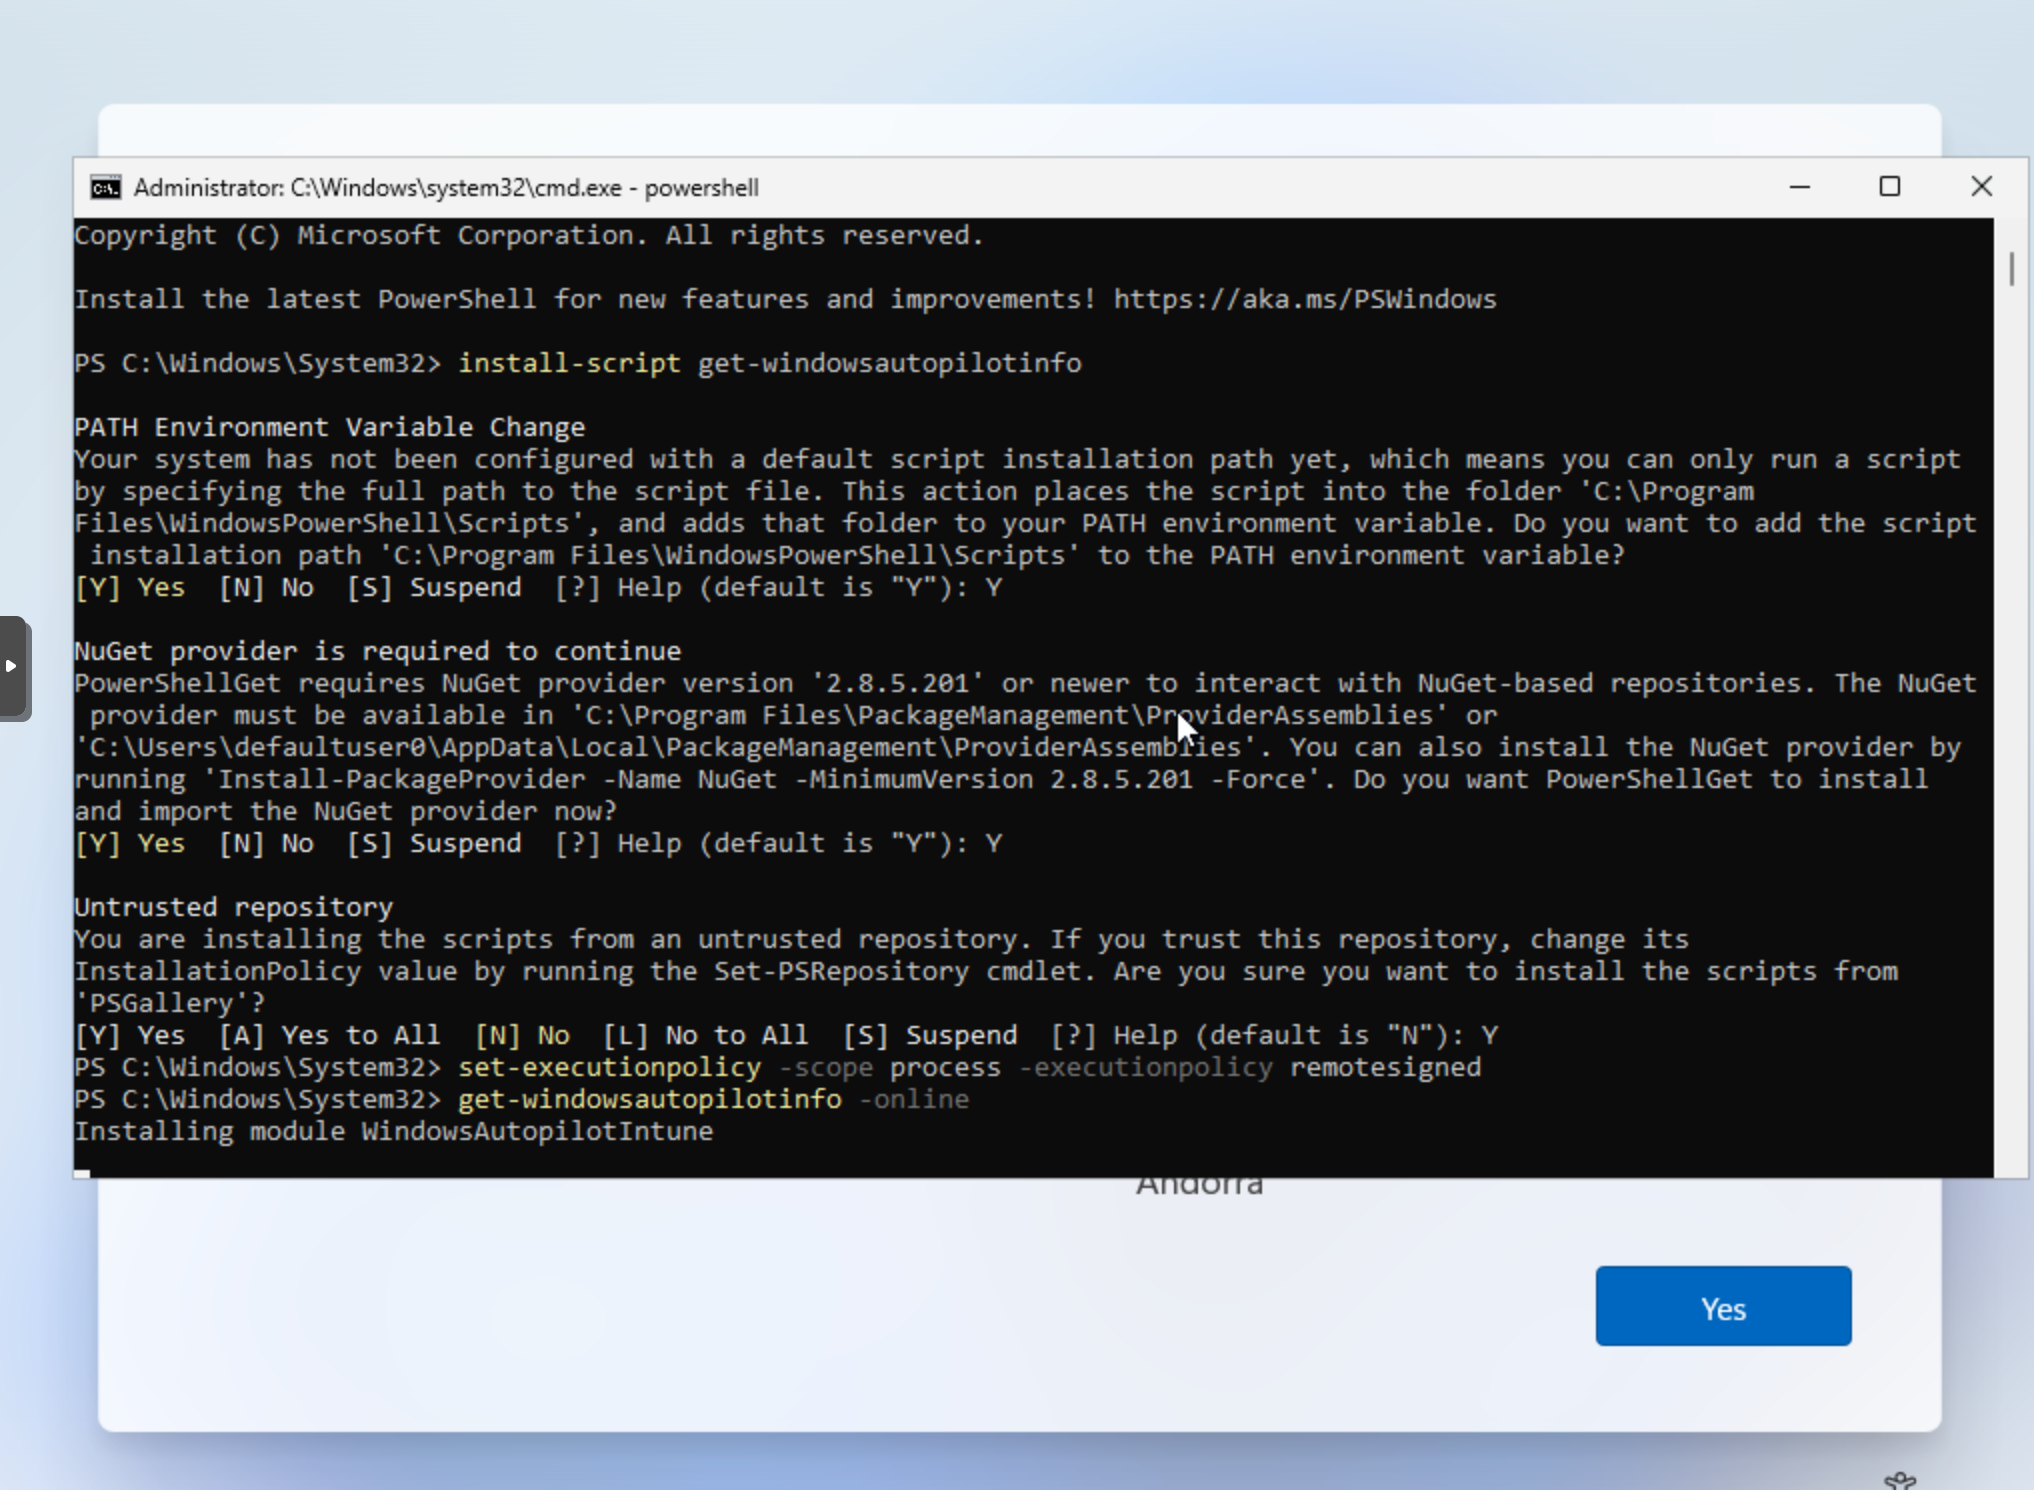
Reboot the computer
restart-computerCheck your windows device enrolment page and you should see the device appearing on the list.