Setting up a Pi Cluster with Netboot
![]()
The very first version of raspberry pi was introduced back in 2012. Since then, it has gone through 3 iterations of improvements. Over the years, it has grown much in popularity to be used as a cheap computing device for educational purpose.
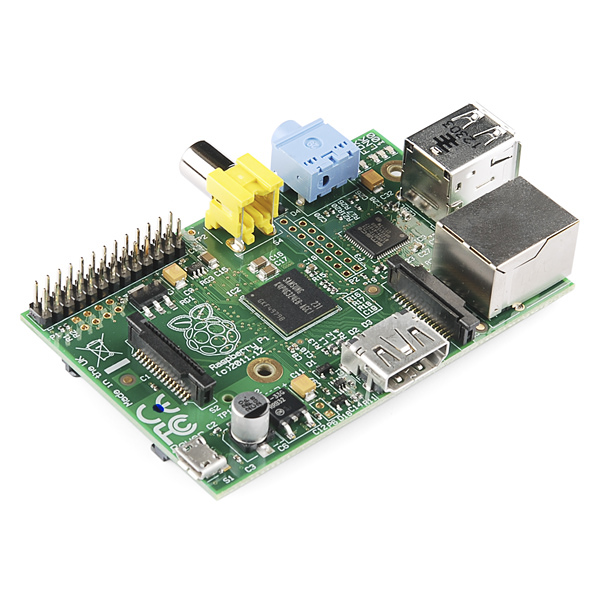
My very first raspberry pi was the version 1 model B which only had 2 USB, 512MB of RAM and a ARM CPU that is running below 1GHz. I used that machine to learn about hosting my own servers. And over the past few years, I have always wanted to set up my own Pi cluster for learning purpose (I studied parallel computing as my specialization back in school). Towards the end of last year, I have decided to purchase 4 of the latest raspberry pi 4 model B to create the cluster that I have always wanted to build.
Things I bought
Raspberry Pi 4 Model B (4GB) X 4
Anker USB Charger X 1
C4Lab Bramble Case X 1
Dlink 5 Ports POE Switch X 1
0.5m Cat6 Ethernet Cable X 5
USB to USB-C cable X 4
Sandisk Extreme 32GB MicroSD X 4
Note: Although I have bought 4 microSD, I only used 1 to set up netboot on raspberry pi. I will still recommend getting 4 in the event that you prefer to boot from the microSD.
First of all, download the latest version of raspbian lite image from raspberry pi website. And burn that image to the microSD card. If you are using Linux, you may use DD command. If you are using windows, you may use rufus.
Next, we will need to update the bootloader on raspberry pi to enable network boot.
sudo apt-get update
sudo apt-get upgrade
wget https://github.com/raspberrypi/rpi-eeprom/raw/master/firmware/beta/pieeprom-2020-01-17.bin
rpi-eeprom-config pieeprom-2020-01-17.bin > bootconf.txt
Next, we will need to edit the bootloader config instructing it to attempt netboot before booting from SD card.
For the list of available bootloader options, you may refer it here
sed -i s/0x1/0x21/g bootconf.txt Now we need to create a new copy of the bootloader firmware with the new boot config.
rpi-eeprom-config --out pieeprom-2020-01-17-netboot.bin --config bootconf.txt pieeprom-2020-01-17.bin
sudo rpi-eeprom-update -d -f ./pieeprom-2020-01-17-netboot.bin
cat /proc/cpuinfo
Next take note of the last 8 digits of Serial number. e.g. 07c38cdc
We will need it later for netboot configuration
Hardware    : BCM2835
Revision    : c03112
Serial      : 1000000007c38cdc
That is pretty much all we have to do on the raspberry pi.
Set up the NFS and TFTP
Now we need to set up a server which allows the raspberry pi to boot from.
For me, I have opted to use ubuntu.
Before we begin, let's install the tools we need.
sudo apt install unzip kpartx dnsmasq nfs-kernel-serverFirst, we will need to download the raspbian image and unzip it. Since we are gonna run it in headless mode, we will download the lite version which comes without GUI.
wget http://downloads.raspberrypi.org/raspbian_lite/images/raspbian_lite-2020-02-07/2020-02-05-raspbian-buster-lite.zip
unzip 2020-02-05-raspbian-buster-lite.zip
Next we will mount the image and map the 2 partitions to the 2 directories, root and boot.
sudo kpartx -a -v 2020-02-05-raspbian-buster-lite.img
mkdir root
mkdir boot
sudo mount /dev/mapper/loop0p1 boot/
sudo mount /dev/mapper/loop0p2 root/
Next we will copy all the files in boot and root to a directory which will be mounted as NFS directory.
sudo mkdir -p /rpi/1
sudo cp -a root/* /rpi/1/
sudo cp -a boot/* /rpi/1/boot/
After the step above, we will need to replace 2 files in the boot folder.
cd /rpi/1/boot
sudo rm start4.elf
sudo rm fixup4.dat
sudo wget https://github.com/Hexxeh/rpi-firmware/raw/master/start4.elf
sudo wget https://github.com/Hexxeh/rpi-firmware/raw/master/fixup4.dat
In order to serve the boot partition across the network, we will need to mount it. Still remember the serial number that we have recorded? We will use it here as the partition name. This is important as raspberry pi will look for this folder on the server.
sudo mkdir -p /tftpboot/07c38cdc
echo "/rpi/4/boot /tftpboot/07c38cdc none defaults,bind 0 0" | sudo tee -a /etc/fstab
sudo mount /tftpboot/07c38cdc
sudo chmod 777 /tftpboot
sudo touch /rpi/1/boot/ssh
sudo sed -i /UUID/d /rpi/3/etc/fstab
After the pi has loaded the boot partion, we need to let it know where the root partition is. To do that, we need to edit the cmdline.txt in the boot partition. (Replace 192.168.3.120 with your server IP)
echo "console=serial0,115200 console=tty root=/dev/nfs nfsroot=192.168.3.120:/rpi/4,vers=3 rw ip=dhcp rootwait elevator=deadline" | sudo tee /rpi/1/boot/cmdline.txtAfter all the above is done, we just need to enable /rpi/1 as NFS directory and enable the relevant services so that raspberry pi can locate the server and NFS directory. (Replace 192.168.3.255 with your network mask)
echo "/rpi/1 *(rw,sync,no_subtree_check,no_root_squash)" | sudo tee -a /etc/exports
sudo systemctl enable rpcbind
sudo systemctl enable nfs-kernel-server
sudo systemctl restart rpcbind
sudo systemctl restart nfs-kernel-server

echo 'dhcp-range=192.168.3.255,proxy' | sudo tee -a /etc/dnsmasq.conf
echo 'log-dhcp' | sudo tee -a /etc/dnsmasq.conf
echo 'enable-tftp' | sudo tee -a /etc/dnsmasq.conf
echo 'tftp-root=/tftpboot' | sudo tee -a /etc/dnsmasq.conf
echo 'pxe-service=0,"Raspberry Pi Boot"' | sudo tee -a /etc/dnsmasq.conf
sudo systemctl enable dnsmasq
sudo systemctl restart dnsmasq
Repeat the above steps for your other raspberry pi and you will have a cluster.
If you have done everything correctly, you should see the log appearing in /var/log/syslog.
1 Comment
Two methods to network boot Raspberry Pi 4 · July 8, 2020 at 3:03 AM
[…] https://codestrian.com/index.php/2020/02/14/setting-up-a-pi-cluster-with-netboot/ […]
Comments are closed.